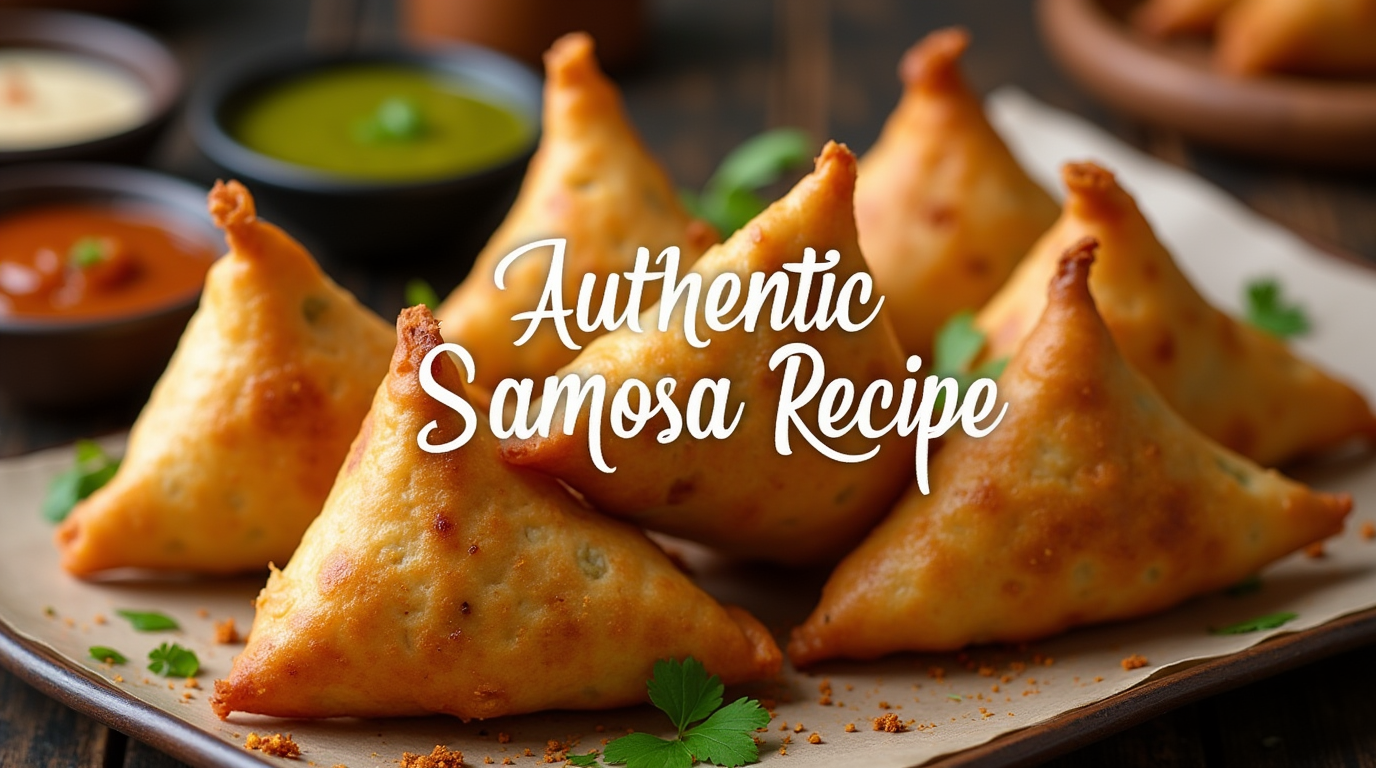
Samosas are one of the most iconic and beloved Indian snacks, enjoyed across the globe. These crispy, golden-brown pastries are filled with a flavorful, spiced potato mixture and deep-fried to perfection. Whether you’re making them for a festive occasion, a cozy tea-time treat, or just to satisfy a craving, homemade samosas always taste the best.
In this recipe, we’ll cover everything you need to know about making authentic Indian samosas from scratch, including how to make the perfect gluten-free samosa dough, a step-by-step guide to preparing the traditional samosa stuffing recipe, and tips on frying for that extra crunch!
Why You’ll Love This Homemade Samosa Recipe
- Authentic Indian Flavors: This recipe delivers the real taste of street-style Indian food samosa, crispy outside and soft inside.
- Customizable: You can experiment with different fillings, including vegetable samosa recipe Indian-style, lentils, or even paneer.
- Perfect for Every Occasion: Whether it’s a snack, an appetizer, or a party dish, samosas are always a hit.
- Make-Ahead Friendly: You can prepare them in advance and freeze them for later frying.

Ingredients for Authentic Samosa Recipe (Indian-Style)
For the Samosa Dough:
- 2 cups all-purpose flour (or use gluten-free samosa dough alternative)
- 4 tbsp oil or ghee
- ½ tsp salt
- ½ tsp carom seeds (ajwain) (for added crispiness)
- ½ cup water (adjust as needed)
For the Samosa Stuffing Recipe:
- 3 medium potatoes, boiled and mashed
- ½ cup green peas, boiled
- 1 green chili, finely chopped (adjust spice level)
- 1 tsp cumin seeds
- 1 tsp coriander powder
- ½ tsp turmeric powder
- ½ tsp red chili powder
- 1 tsp garam masala
- ½ tsp dry mango powder (amchur)
- 1 tbsp ginger, grated
- 1 tbsp coriander leaves, chopped
- 1 tbsp oil
- Salt, to taste
For Frying:
- 3 cups vegetable oil (for deep frying)

Step-By-Step Guide to Making Homemade Samosas
1. Prepare the Samosa Dough
- In a large mixing bowl, add flour, salt, carom seeds, and oil/ghee.
- Rub the oil into the flour with your fingertips until it has a breadcrumb-like texture.
- Slowly add water, a little at a time, and knead into a firm, smooth dough.
- Cover with a damp cloth and let it rest for 30 minutes.
2. Make the Samosa Filling
- Heat 1 tbsp oil in a pan over medium heat. Add cumin seeds and let them splutter.
- Add ginger and green chili, sauté for a few seconds.
- Stir in turmeric, coriander powder, red chili powder, and garam masala.
- Add the boiled potatoes and green peas. Mash slightly while mixing.
- Sprinkle in dry mango powder for tanginess.
- Add salt to taste and mix well. Cook for 2-3 minutes.
- Turn off the heat and stir in chopped coriander leaves.
- Allow the filling to cool completely before assembling the samosas.
3. Shape the Samosas
- Divide the dough into equal portions and roll into small balls.
- Roll each ball into an oval-shaped disc, about 6 inches long.
- Cut the oval in half, forming two semicircles.
- Take one semicircle, form a cone shape, and seal the edges using water.
- Fill the cone with 2-3 tablespoons of the potato mixture.
- Seal the open edge by pinching and pressing firmly.
4. Fry the Samosas
- Heat oil in a deep frying pan over medium-low heat.
- Carefully place the samosas in the hot oil.
- Fry on low heat for the first few minutes to ensure even cooking.
- Increase the heat slightly and fry until golden brown and crispy.
- Drain on a paper towel and let cool slightly before serving.
Tips for the Perfect Indian Samosas
- Don’t over-knead the dough – A firm dough gives a crispy texture.
- Let the dough rest – This makes it easier to roll and prevents cracking.
- Fry on low heat first – This ensures the samosas cook evenly without burning.
- Use dry mango powder – It enhances the tangy taste of the filling.
- Seal properly – A well-sealed samosa won’t leak while frying.

Variations and Substitutions
1. Gluten-Free Samosa Dough
Use gluten-free flour blend with xanthan gum or a mix of chickpea and rice flour to make a gluten-free version.
2. Different Fillings
- Paneer Samosa: Add crumbled paneer for extra richness.
- Meat Samosa: Use minced chicken or lamb with spices.
- Lentil Samosa: Cooked and spiced lentils make a protein-rich alternative.
What to Serve with Samosas?
- Tamarind Chutney – Sweet and tangy dipping sauce.
- Mint-Coriander Chutney – Refreshing and mildly spicy.
- Yogurt Dip – A cooling dip with cumin and mint.
- Masala Chai – The perfect beverage pairing.
How to Store and Reheat Samosas
Refrigerating Samosas:
- Store in an airtight container for up to 3 days.
- Reheat in an oven at 350°F (175°C) for 10 minutes to retain crispiness.
Freezing Samosas:
- Freeze uncooked samosas on a tray, then transfer to a freezer bag.
- Fry directly from frozen at low heat for the first few minutes.
Frequently Asked Questions
1. Can I bake samosas instead of frying?
Yes! Brush them with oil and bake at 375°F (190°C) for 30 minutes, flipping halfway.
2. Why do my samosas turn soggy?
Frying at high heat causes air pockets. Always start at low heat and increase gradually.
3. Can I make samosas ahead of time?
Yes! Shape and store in the fridge for up to 24 hours before frying.
4. What’s the best oil for frying samosas?
Use oils with a high smoke point like vegetable, peanut, or sunflower oil.
5. Can I use phyllo dough instead of traditional dough?
Yes, but it will have a flakier, lighter texture compared to traditional samosas.
Final Thoughts
Making homemade samosas is a delightful experience that brings the authentic flavors of Indian food samosa right to your kitchen. Whether you’re enjoying them with chutneys, as part of a meal, or serving them at gatherings, they’re guaranteed to be a hit.
Now that you have the best samosa recipe, give it a try and enjoy the crispy, spicy goodness of this classic snack! Happy cooking! 🍽️✨


