Hawaiian desserts have long been a favorite for people who enjoy tropical flavors and the laid-back island vibe. With their vibrant colors, unique flavors, and often refreshing textures, these desserts are perfect for any occasion, especially summer gatherings or luau-themed parties. One such delightful treat is the No-Bake Hawaiian Dessert Sand Cups, a simple yet delicious treat that captures the essence of the tropics in a fun and easy-to-make dessert. In this article, we’ll guide you through creating this delectable dessert and explore the tropical flavors and ingredients that make it an essential addition to your collection of Hawaiian dessert recipes.
The Perfect Addition to Your Hawaiian Party Food Spread
When hosting a Hawaiian party, whether it’s for a birthday, a summer get-together, or a luau party food gathering, the right desserts can elevate the entire event. Hawaiian desserts like these No-Bake Hawaiian Dessert Sand Cups are a great way to tie the theme together, offering guests something sweet and refreshing. Unlike traditional baked desserts, this no-bake recipe is incredibly easy to prepare and requires minimal ingredients. Plus, its beach-inspired presentation makes it visually appealing, giving your guests a memorable treat.
The Concept Behind No-Bake Hawaiian Dessert Sand Cups
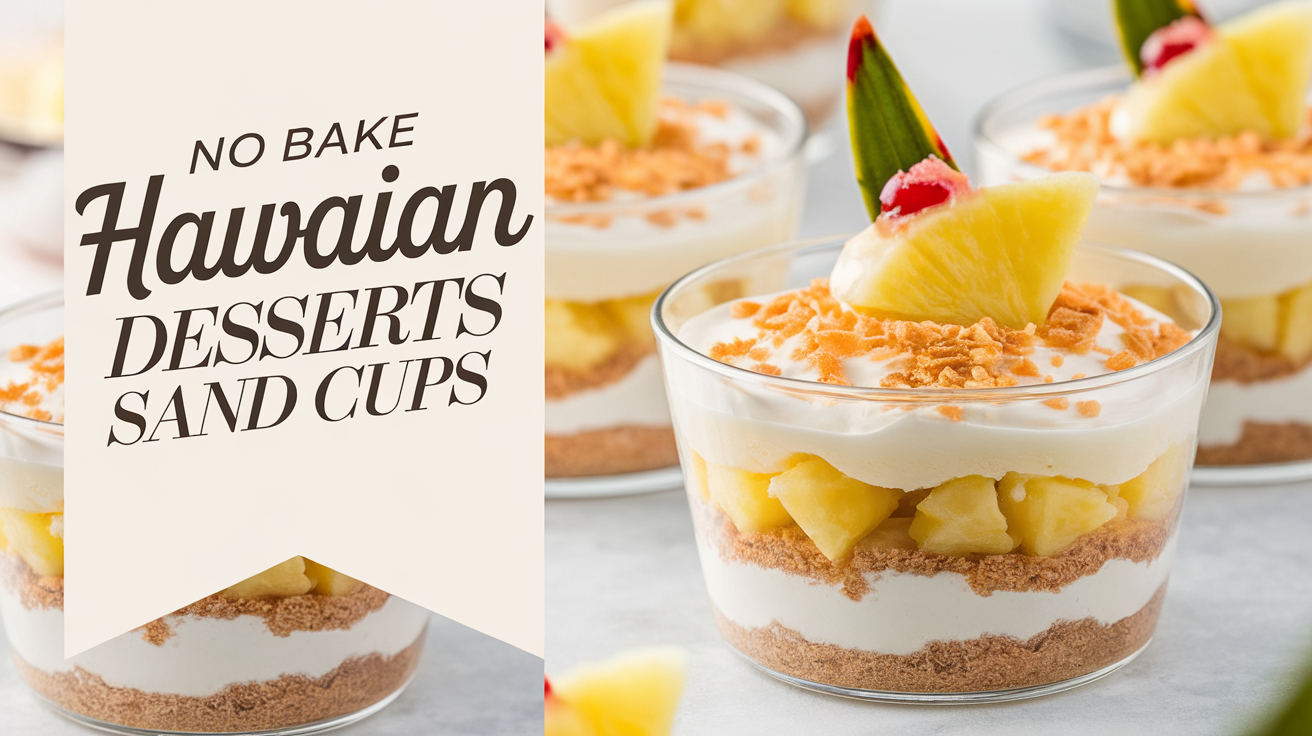
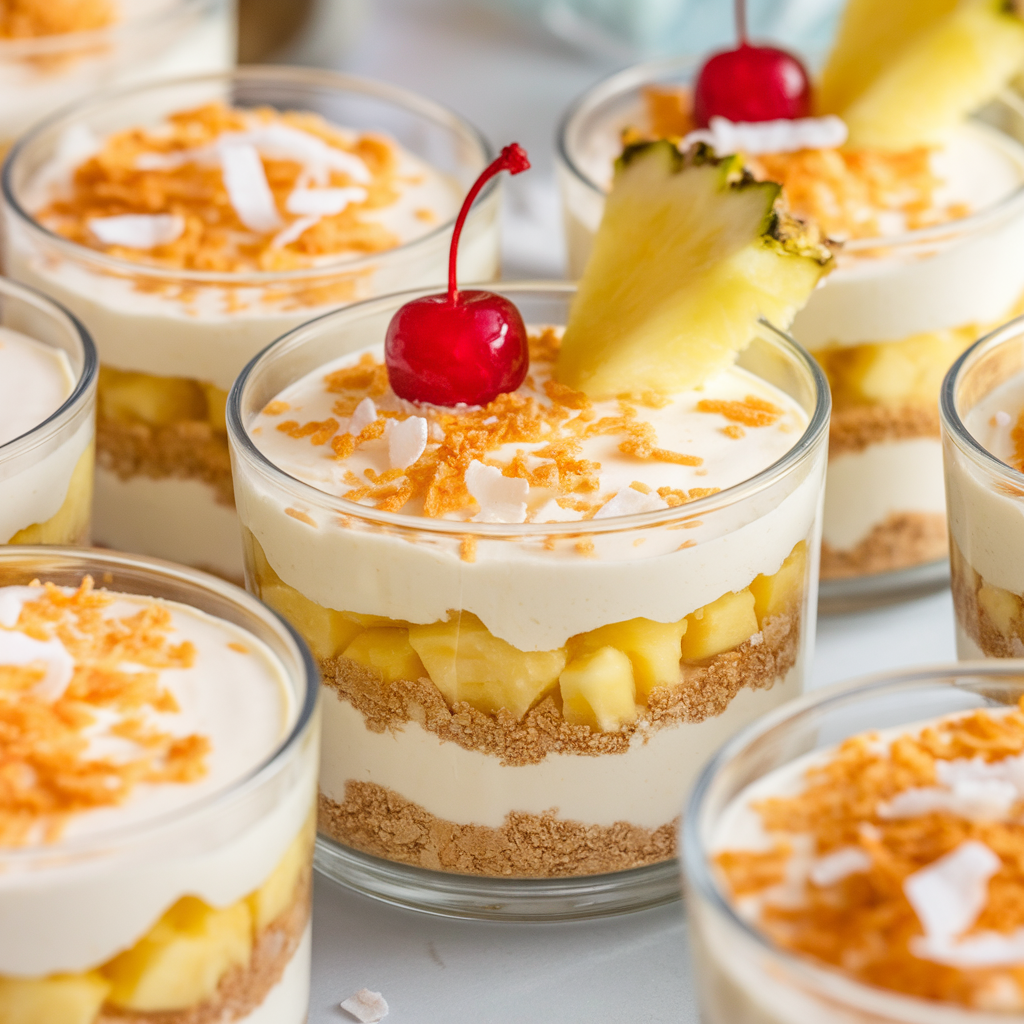
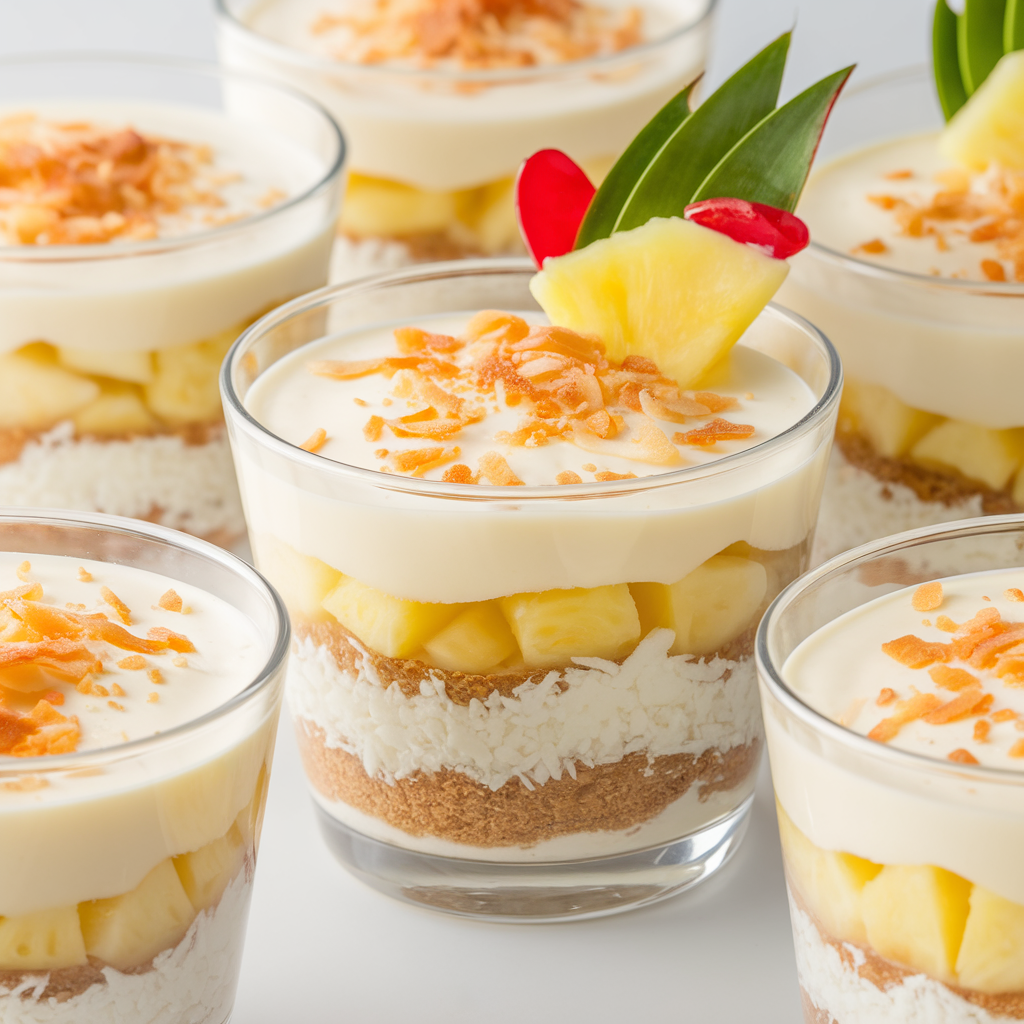
El No-Bake Hawaiian Dessert Sand Cups are a layered dessert that mimics the look of sand on a tropical beach, with a smooth, creamy filling and a crumbly base that resembles beach sand. The dessert is typically served in individual cups, making it an ideal choice for Icebox desserts, where you can prepare portions ahead of time, store them in the fridge, and serve them directly to guests without any mess. This makes it an excellent choice for parties where you want to serve something fun, interactive, and easy to eat.
Los ingredientes Que necesitarás
To make No-Bake Hawaiian Dessert Sand Cups, you’ll need a handful of ingredients, many of which you might already have in your pantry or fridge. Here’s a breakdown of the key ingredients for this tropical treat:
For the “Sand” Base:
- Graham cracker crumbs: These will form the sandy base of the dessert and provide a slightly sweet, crumbly texture.
- Coconut flakes: Shredded coconut helps add to the tropical theme and enhances the texture, mimicking the feel of sand and providing an additional layer of flavor.
- Brown sugar: The sweetness of the brown sugar enhances the natural sweetness of the coconut and graham crackers.
- Mantequilla: A bit of melted butter will help bind the graham cracker crumbs and coconut flakes together, making it easier to form a cohesive base.
For the Creamy Hawaiian Layer:
- Cream cheese: The main base of the creamy layer, adding richness and smoothness to the dessert.
- Whipped topping: For lightness and fluffiness, whipped topping (such as Cool Whip) is folded into the cream cheese mixture.
- Pineapple (fresh or canned): Pineapple is a quintessential Hawaiian food ingredient, lending a juicy, tangy sweetness to the creamy filling. For an authentic touch, you can use crushed pineapple, but make sure to drain it well to avoid excess moisture.
- Azúcar en polvo: Adds sweetness to the creamy mixture without making it too heavy or grainy.
- Vanilla extract: A touch of vanilla helps bring out the tropical flavors and complements the cream cheese.
Garnishes:
- Additional coconut flakes: To further enhance the tropical feel, sprinkle some extra coconut flakes on top of the dessert cups.
- Maraschino cherries: These cherries are a classic garnish for tropical desserts and add a pop of color to your No-Bake Hawaiian Dessert Sand Cups.
- Fresh pineapple chunks: If you want to take the tropical vibe to the next level, top the cups with small pineapple chunks for a fresh, fruity addition.
How to Make No-Bake Hawaiian Dessert Sand Cups
Now that you have your ingredients ready, let’s go through the process of creating these beautiful and delicious Hawaiian dessert sand cups. The best part about this recipe is that it’s incredibly easy to make, and there’s no baking required. Here’s the step-by-step guide:
Step 1: Prepare the Sand Base
- Crush the graham crackers: Using a food processor or a plastic bag and rolling pin, crush the graham crackers into fine crumbs. You want them to have the consistency of sand.
- Toast the coconut flakes: If you want a more intense coconut flavor, lightly toast the coconut flakes in a dry pan over medium heat for 3-5 minutes, stirring constantly to prevent burning.
- Mix the ingredients: In a large bowl, combine the graham cracker crumbs, toasted coconut flakes, brown sugar, and melted butter. Stir everything together until the mixture is well combined, and the crumbs are evenly coated in butter.
- Divide the base into cups: Spoon the graham cracker mixture into small cups, pressing it down gently to create a solid, compact base. You can use any type of small serving cups or mason jars for this step.
Step 2: Make the Creamy Hawaiian Filling
- Blend the cream cheese: In a separate bowl, beat the cream cheese until smooth and creamy. This will be the base of your dessert filling.
- Add the pineapple: If you’re using canned pineapple, make sure to drain it thoroughly to prevent excess liquid from making the filling too runny. Add the pineapple to the cream cheese mixture and stir to combine.
- Add powdered sugar: Stir in the powdered sugar to sweeten the mixture and adjust it to taste. If you prefer a sweeter dessert, feel free to add more sugar.
- Fold in the whipped topping: Gently fold the whipped topping into the cream cheese mixture until smooth and fluffy. This step adds airiness to the dessert filling and gives it a light texture.
Step 3: Layer the Dessert
- Layer the cream mixture: Spoon the cream cheese mixture over the graham cracker crust, filling each cup until it is about three-quarters full.
- Add more “sand”: Once you’ve added the creamy layer, sprinkle a little more graham cracker and coconut mixture on top to resemble sand. This not only enhances the aesthetic but also adds an extra crunch to each bite.
Step 4: Garnish and Chill
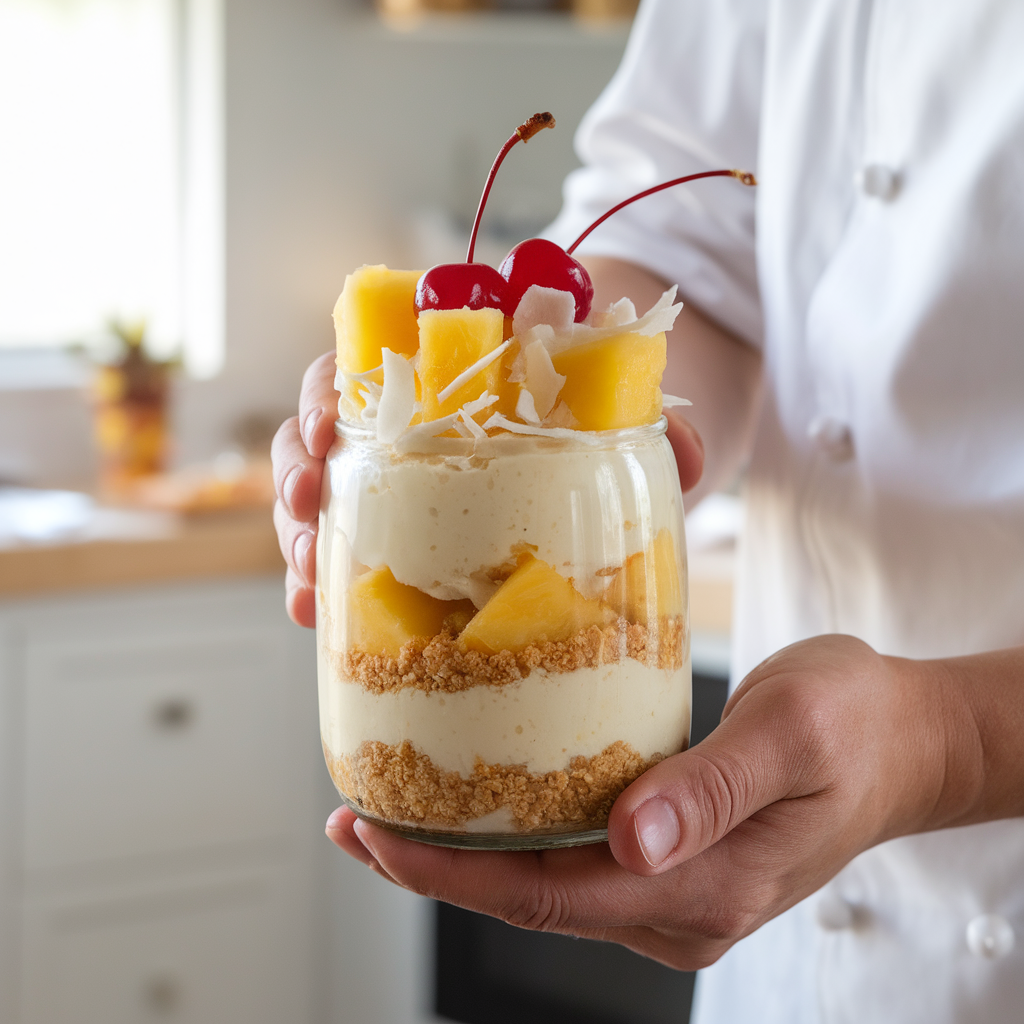
- Top with garnishes: To finish, top each dessert cup with a few extra coconut flakes, a maraschino cherry, and a chunk of fresh pineapple. These garnishes give the dessert a vibrant, colorful look that is perfect for a luau food spread.
- Chill in the refrigerator: Place the cups in the fridge for at least 3 hours (or overnight) to allow the dessert to set properly. This chilling time helps the layers to firm up and meld together, creating the perfect texture.
Serving Your No-Bake Hawaiian Dessert Sand Cups
Once chilled, your No-Bake Hawaiian Dessert Sand Cups are ready to serve! These individual cups make it easy for guests to enjoy a tropical treat without the need for slicing or messy serving. They’re perfect for Hawaiian parties, summer barbecues, or even as a fun treat for a family gathering. Not only do they taste amazing, but they also look stunning and create a fun, beachy vibe that guests will love.
Variations and Tips
While the recipe for No-Bake Hawaiian Dessert Sand Cups is fantastic as it is, there are several variations you can try to personalize it or adapt it to different dietary preferences:
- Gluten-Free Version: If you’re serving guests who need gluten-free options, substitute the graham crackers with gluten-free crackers or crushed gluten-free cookies.
- Dairy-Free Version: To make this dessert dairy-free, use a dairy-free cream cheese substitute and a non-dairy whipped topping (such as coconut cream).
- Add Other Tropical Fruits: You can experiment by adding other tropical fruits such as mango, passion fruit, or kiwi to the creamy filling for additional flavor and texture.
Conclusión
Whether you’re planning a luau party food spread, a tropical-themed event, or simply looking for a fun and easy dessert to make at home, No-Bake Hawaiian Dessert Sand Cups are a perfect choice. With their tropical flavors, no-bake ease, and beachy presentation, they make for a wonderful addition to any occasion. Not only are they a crowd-pleaser, but they also bring the refreshing taste of the Hawaiian Islands right to your table. So, gather your ingredients and get ready to impress your guests with this sweet and creamy treat!