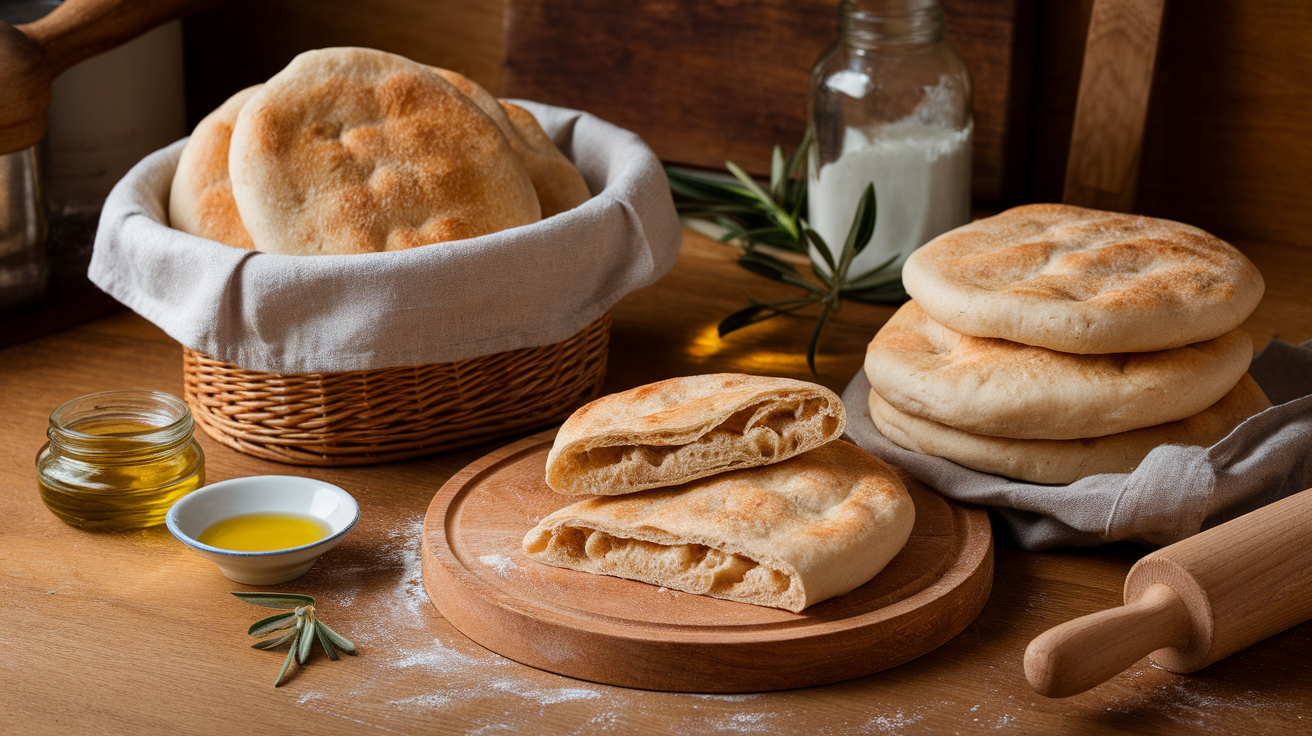
Make soft, flavorful, homemade pitas using your sourdough starter—with no commercial yeast!
If you’re a fan of fluffy homemade bread and want to explore more ways to use your sourdough starter, this Sourdough Pita Bread Recipe is the perfect addition to your kitchen repertoire. Combining the traditional elements of pita bread with the tang and health benefits of sourdough, this recipe is a delicious twist on a pantry staple.
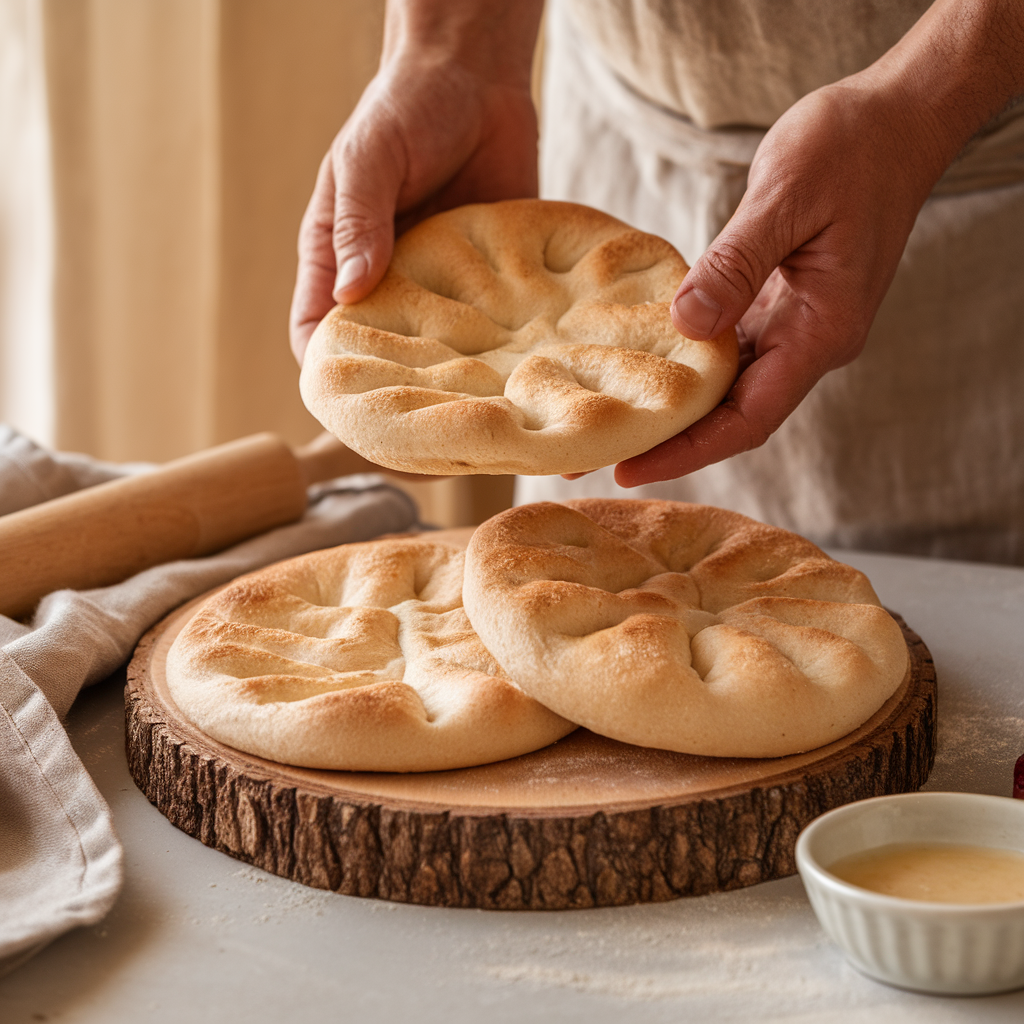
You’ll get warm, pillowy pockets that puff beautifully in the oven or on a skillet—ideal for stuffing with grilled meat, falafel, or vegetables. And best of all, it’s easy and beginner-friendly, whether you’re new to baking or a sourdough veteran.
🥙 Why Make Pita Bread With Sourdough Starter?
While classic pita uses commercial yeast, using a sourdough starter adds a mild tang and elevates the flavor. Here’s why it’s worth trying:
- Healthier: Sourdough fermentation improves digestibility and reduces gluten and phytic acid.
- Flavorful: The long fermentation brings complex flavor unmatched by commercial yeast.
- Budget-Friendly: No need for store-bought yeast. Your natural sourdough starter is all you need.
- No Oven? No Problem!: Pitas can be made right on the stovetop in a pan.
🧾 Ingredients – Simple and Real
You’ll need only 5 basic ingredients to make sourdough pita bread from scratch:
- 1 cup (240g) active sourdough starter (100% hydration)
- ¾ cup (180ml) warm water
- 2½ cups (300g) all-purpose or bread flour
- 1 tsp sea salt
- 1 cucharada de aceite de oliva (optional, for added softness and flavor)
💡 Using discard? You can swap in sourdough discard if it’s no more than 1–2 days old and still relatively fresh-smelling.
🛠 Equipment You’ll Need
- Mixing bowl
- Kitchen scale (recommended)
- Rolling pin
- Cast iron skillet or pizza stone
- Bench scraper or knife
- Damp towel or plastic wrap
🍞 How To Make Sourdough Pita Bread
Let’s break this recipe down into simple, manageable steps. While it does involve waiting for fermentation, it’s largely hands-off.
🔹 Step 1: Mix and Knead the Dough
In a large bowl:
- Add 1 cup of active sourdough starter, ¾ cup of warm water, and mix.
- Add 2½ cups flour and 1 tsp salt.
- Mix by hand or with a dough hook until a shaggy dough forms.
- Knead the dough on a clean surface for 6–8 minutes until smooth and slightly tacky.
Add the olive oil near the end if using. Your dough should pass the “windowpane test” (you can stretch a piece thin without it tearing).
🔹 Step 2: Bulk Fermentation (First Rise)
Place the dough into a lightly oiled bowl. Cover with a damp towel or plastic wrap.
Let it rise at room temperature (21–24°C or 70–75°F) for 4–6 hours, or until nearly doubled.
💤 Overnight tip: You can bulk ferment the dough in the refrigerator overnight to develop deeper flavor. Just bring it back to room temperature before shaping.
🔹 Step 3: Divide and Rest
After the dough has risen:
- Turn it onto a floured surface.
- Divide into 6–8 equal pieces (about 80g–100g each).
- Shape each into a tight ball, cover, and let rest for 20 minutes. This relaxes the gluten and makes rolling easier.
🔹 Step 4: Roll the Dough
Use a rolling pin to roll each dough ball into a 6–7 inch circle. Try to keep the thickness even—around ¼ inch is ideal.
⚠️ Don’t roll too thin, or the pitas may not puff properly.
🔹 Step 5: Cook the Pitas
Option 1: Bake in Oven (Best Puff!)
- Precaliente el horno a 500°F (260°C). If you have a pizza stone or baking steel, place it inside.
- Place 1–2 pita rounds at a time on the hot surface.
- Bake for 3–5 minutes. The pitas should puff up like balloons.
- Remove and stack on a plate, covering with a towel to keep them soft.
Option 2: Pan Cook (Pan Pita)
- Heat a cast iron or non-stick skillet over medium-high heat.
- Place 1 pita round on the skillet.
- Cook for 1–2 minutes per side, flipping once. Watch for bubbling.
- It may not puff fully like in the oven, but you’ll still get delicious results.
🧊 Storage and Reheating
- Room Temperature: Store in a zip bag or container for up to 3 days.
- Congelador: Freeze pitas between parchment paper. Reheat in the toaster, skillet, or microwave.
- Reheat: Warm gently in a skillet or wrap in foil and heat in a 300°F oven for 5–7 minutes.
🧄 Flavor Variations and Add-Ins
Customize your pita dough with flavor boosts:
- Garlic & Herb Pita: Add 1 tsp dried oregano and 1 clove minced garlic to the dough.
- Whole Wheat Option: Replace 1 cup flour with whole wheat flour. Add 1 tbsp more water if needed.
- Spiced Pita: Add cumin seeds, za’atar, or sumac for a Middle Eastern flavor twist.
🌯 How To Use Sourdough Pitas
These soft, chewy breads are incredibly versatile. Here are some ideas:
- Stuffed Pita Sandwiches: Fill with chicken shawarma, falafel, or roasted veggies.
- Dips & Spreads: Perfect with hummus, labneh, or baba ganoush.
- Pita Chips: Cut into wedges, brush with olive oil, and bake at 375°F for 10–12 mins.
- Flatbread Pizzas: Top with tomato sauce, cheese, and veggies. Bake or broil briefly.
- Breakfast Pitas: Stuff with eggs, cheese, and spinach for a portable breakfast.
❓ FAQ: Sourdough Pita Bread Troubleshooting
Why didn’t my pita puff?
- Dough was rolled too thick or too thin.
- Oven or skillet wasn’t hot enough.
- Dough didn’t rest enough after shaping.
- Underproofed dough (didn’t rise long enough).
Can I use discard instead of active starter?
Yes! For a quick sourdough discard recipe, use recently discarded starter and add ½ tsp of baking soda for a slight rise boost. It won’t puff as much, but still tastes great.
Can I refrigerate the dough?
Yes. After the first rise, refrigerate the dough up to 48 hours. Bring to room temperature before shaping.
🧬 Nutritional Info (Per Pita)
- Calories: ~160
- Carbohydrates: 30g
- La proteína: 4–5g
- Fat: 2–3g
- La fibra: 1g
🥖 Why You’ll Love This Sourdough Pita Bread Recipe
This recipe hits the sweet spot of simple and satisfying:
- No yeast required
- Perfect use of sourdough starter or discard
- Soft, tender, and naturally leavened
- Can be cooked in the oven or on the stove
- Great for meal prep and freezing
It’s one of those recipes you’ll return to again and again, whether you’re baking weekly bread or just want a quick flatbread for dinner.
💬 Final Thoughts
If you’re searching for a way to make any recipe sourdough, this pita bread is a great starting point. It’s versatile, delicious, and easier than you think. From shawarma wraps to veggie-packed pockets or simple hummus dippers, sourdough pitas turn every meal into something special.
So roll up your sleeves, grab that bubbly starter, and treat yourself to the magic of homemade sourdough pita bread.