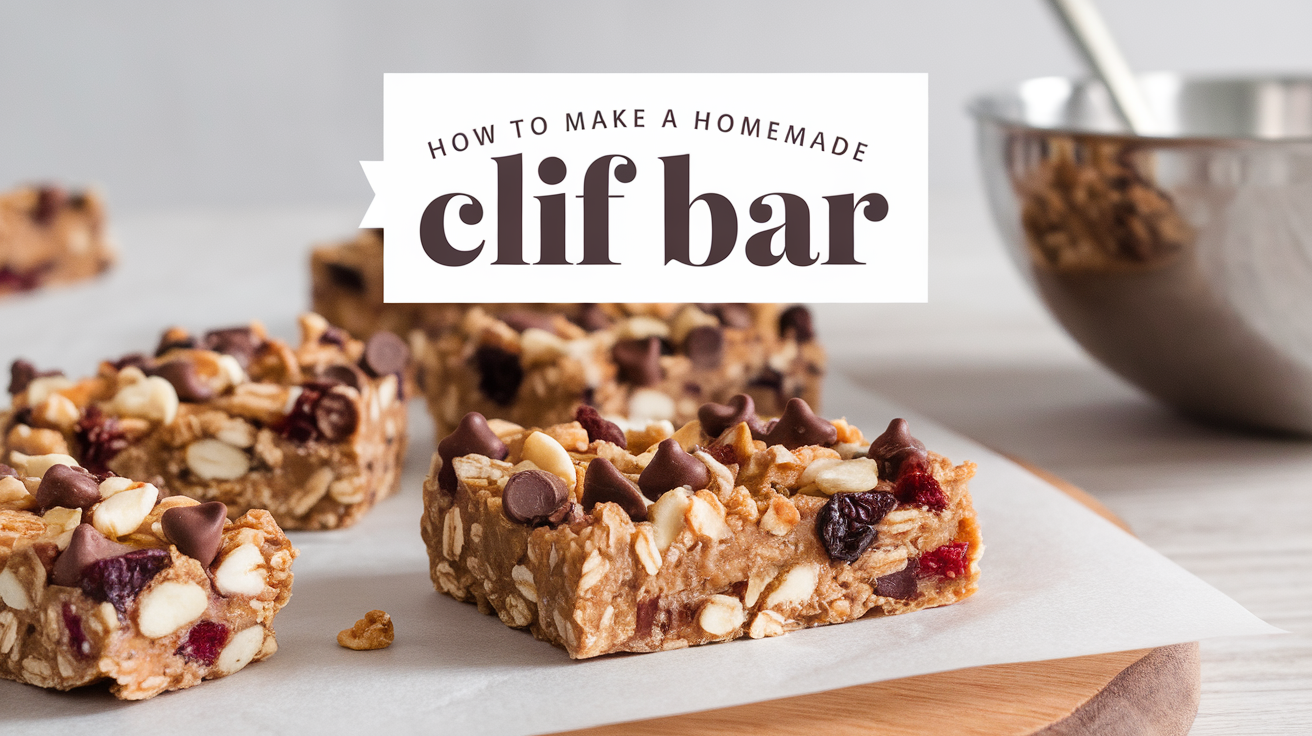
When it comes to healthy and convenient snacks, Clif Bars have become a go-to choice for many athletes, hikers, and individuals on the go. These energy bars offer a great balance of carbs, protein, and healthy fats, providing the fuel needed to power through intense workouts or busy days. But did you know you can easily make your own Homemade Clif Bars right in your kitchen? Not only is it a cost-effective alternative, but making your own DIY Granola Bars allows you to customize the ingredients to fit your taste and nutritional preferences.
In this article, we will walk you through an easy-to-follow Energy Bars Recipe for creating your own Clif Bars at home. Whether you’re looking for a post-workout snack, a breakfast option, or just a quick pick-me-up during a long hike, these homemade bars will have you covered.
Why Make Homemade Clif Bars?
Before diving into the recipe, let’s quickly explore why making your own DIY Granola Bars is a fantastic idea:
- Customization: When you make your own Clif Bars, you have full control over the ingredients. Want to add extra protein or swap out certain sweeteners? You can do that easily with a homemade recipe.
- Fresh Ingredients: Store-bought Clif Bars may contain preservatives and artificial ingredients to extend shelf life. When you make your own, you can ensure everything is fresh and free from unwanted chemicals.
- Cost-Effective: Buying Clif Bars regularly can get expensive, especially if you go through a few bars a week. Making your own DIY Granola Bars is a much more budget-friendly option, especially when you can make a large batch at once.
- No Added Sugars: Some commercially available energy bars are loaded with refined sugars. You can reduce the sugar content by using natural sweeteners like honey, maple syrup, or agave nectar in your homemade version.
- Convenience: Homemade Energy Bars Recipe allows you to have a ready-to-eat snack anytime. It’s great for busy mornings when you need to grab something quick or for packing in your gym bag for a post-workout treat.
Ingredients for Homemade Clif Bars
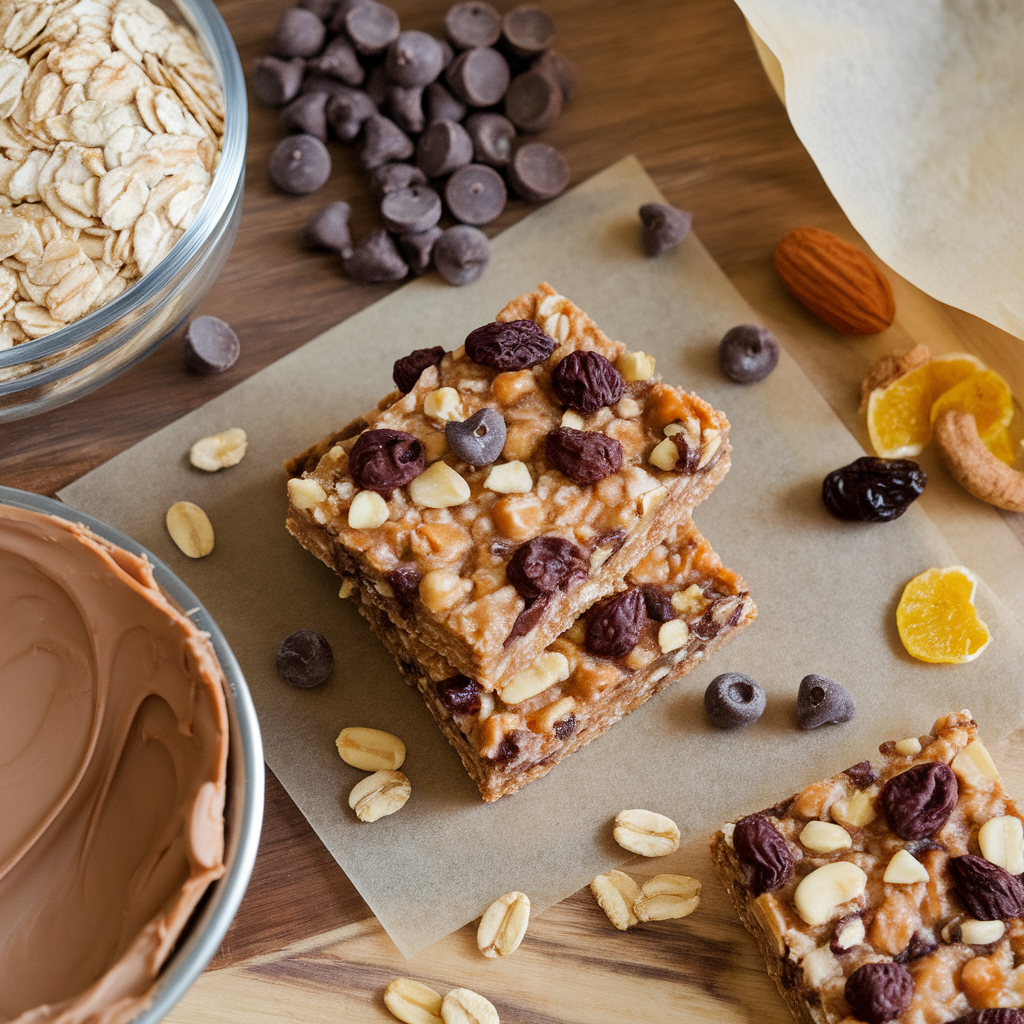
To make your own Homemade Clif Bars, you’ll need a few simple ingredients that pack a nutritional punch. These ingredients are designed to provide long-lasting energy, making them perfect for post-workout snacks or an afternoon pick-me-up.
Base Ingredients
- Oats: The base of your DIY Granola Bars will be rolled oats. Oats are a great source of slow-releasing carbohydrates, providing sustained energy throughout the day.
- Peanut Butter: A healthy fat source that will also add protein. If you’re allergic to peanuts, you can easily substitute almond butter or cashew butter.
- Honey: A natural sweetener that will help bind the ingredients together while providing a little extra energy boost.
- Brown Rice Syrup: This syrup will help bind the ingredients together, giving your bars a chewy texture.
- Protein Powder: Adding protein powder to the recipe will increase the protein content, which is essential for muscle recovery after a workout.
Add-Ins for Flavor and Nutrition
- Dried Blueberries: For a burst of flavor and extra antioxidants, dried blueberries are a perfect addition to your homemade bars. They also add a natural sweetness without the need for refined sugar.
- Chia Seeds: These tiny seeds are packed with omega-3 fatty acids, fiber, and protein, making them a great addition to your Energy Bars Recipe.
- Nuts: Almonds, walnuts, or cashews provide a crunchy texture and additional protein, making them an excellent addition to your bars.
- Coconut Flakes: Shredded coconut adds a tropical flavor and healthy fats to your Clif Bars.
- Chocolate Chips: If you love chocolate, feel free to add some dark chocolate chips to the mix for a delicious treat.
Optional Ingredients
- Ground Flaxseeds: Flaxseeds are rich in omega-3 fatty acids, fiber, and antioxidants. They are a great addition to your DIY Granola Bars if you want to increase the nutritional profile.
- Cinnamon: Adding cinnamon will enhance the flavor profile and offer anti-inflammatory benefits.
Step-by-Step Instructions to Make Homemade Clif Bars
Making your own Homemade Clif Bars is a simple process, and the best part is that you don’t need any special equipment. All you need is a large mixing bowl, a spatula, and a baking dish. Let’s get started:
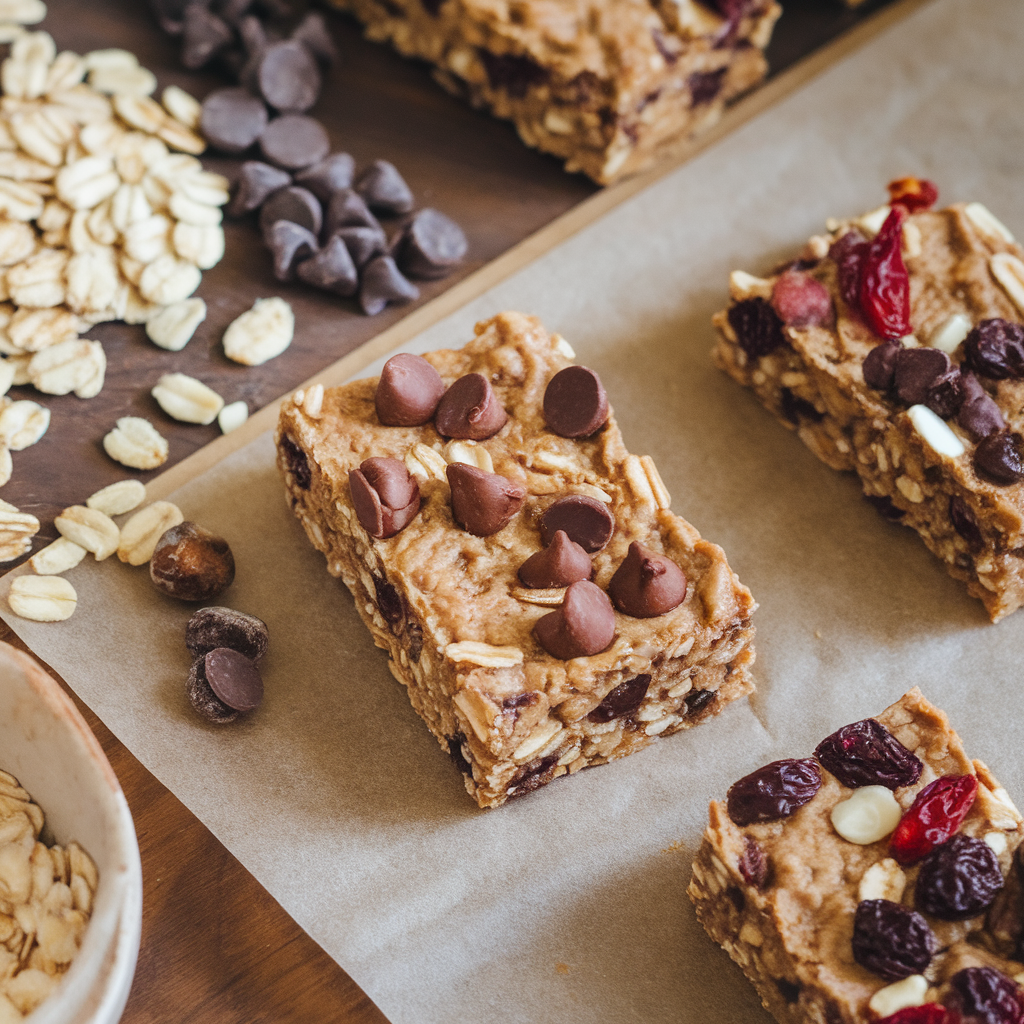
Step 1: Prepare Your Ingredients
First, gather all your ingredients in one place. Measure out the oats, peanut butter, honey, brown rice syrup, protein powder, and any add-ins such as dried blueberries, nuts, and seeds. Make sure your oats are rolled oats and not instant oats for the best texture.
Step 2: Mix the Wet Ingredients
In a large mixing bowl, combine the peanut butter, honey, and brown rice syrup. Use a spatula or spoon to mix these ingredients together until they are smooth and well combined. If you prefer a smoother texture, you can heat the peanut butter and honey mixture in the microwave for a few seconds to make it easier to stir.
Step 3: Add the Dry Ingredients
Now, add the rolled oats, protein powder, chia seeds, dried blueberries, and any additional add-ins such as nuts, coconut flakes, or chocolate chips. Stir everything together until the dry ingredients are fully incorporated into the wet mixture. You should have a thick, sticky dough that holds together well.
Step 4: Press the Mixture into a Pan
Line an 8×8-inch baking dish with parchment paper or lightly grease it to prevent sticking. Transfer the mixture into the dish and use a spatula or your hands to press it down firmly. Make sure the mixture is evenly distributed and packed tightly for a sturdy bar.
Step 5: Chill and Set the Bars
Once the mixture is pressed into the pan, place the baking dish in the refrigerator for at least 2 hours. This will allow the bars to set and become firm. If you’re in a hurry, you can also place the bars in the freezer for 30 minutes to speed up the process.
Step 6: Cut and Store
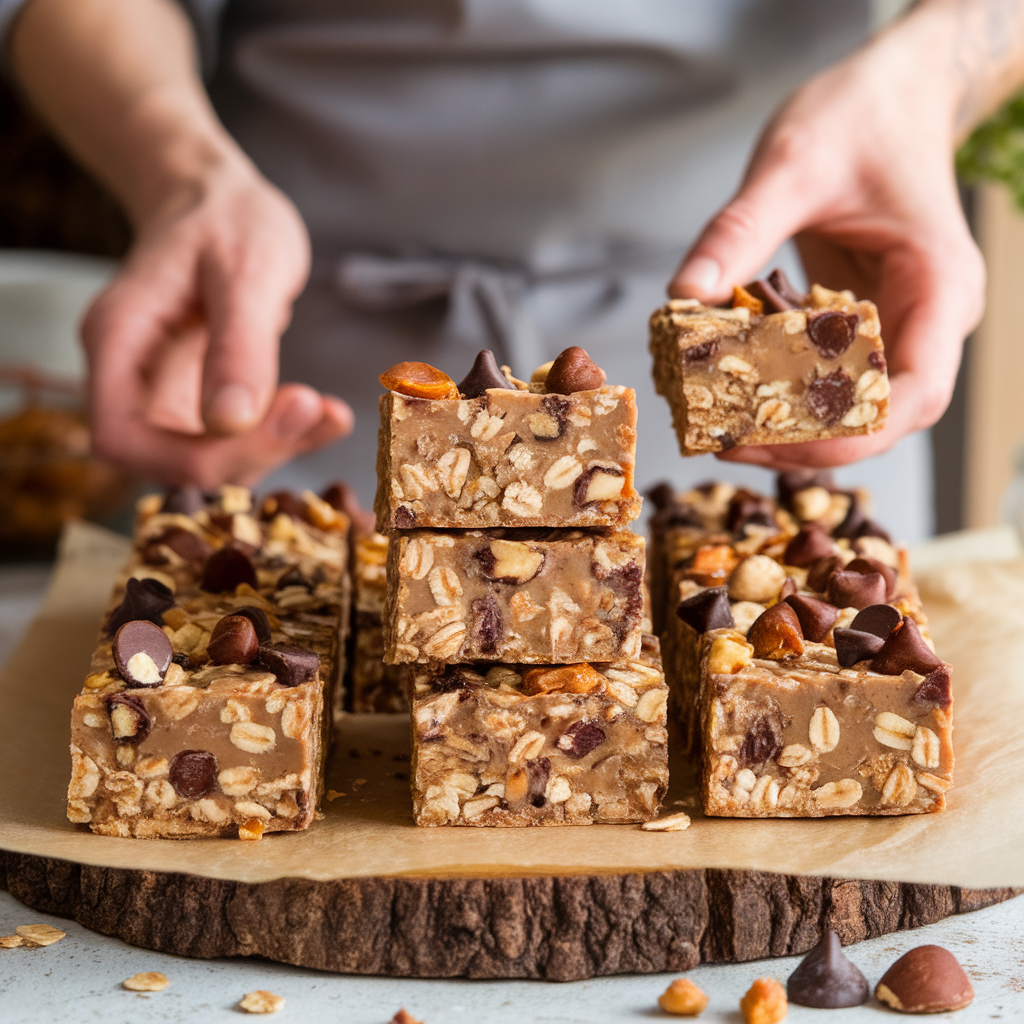
After the bars have set, remove them from the refrigerator or freezer. Use a sharp knife to cut them into square or rectangular bars. You can make them as big or small as you like, depending on your preference.
Store the homemade Clif Bars in an airtight container at room temperature for up to one week. Alternatively, you can store them in the fridge for longer shelf life.
Tips for Perfect Homemade Clif Bars
- Customize the Sweetness: If you prefer sweeter bars, you can add a bit more honey or even maple syrup. For less sweetness, reduce the amount of sweetener.
- Texture Variations: If you prefer a crunchier texture, you can add more nuts or seeds to the mixture.
- Vegan Options: To make your bars vegan, use a plant-based protein powder and substitute the honey with maple syrup or agave nectar.
- Protein Boost: If you want to make your bars more protein-rich, you can increase the amount of protein powder or add a scoop of collagen peptides.
- Try Different Dried Fruits: If you’re not a fan of dried blueberries, feel free to use dried cranberries, raisins, or even chopped dried apricots.
Conclusion
Making your own Homemade Clif Bars is an easy and fun way to enjoy a healthy snack that provides sustained energy. Whether you’re in need of a post-workout snack, a quick breakfast, or a boost during a long hike, these DIY Granola Bars will keep you fueled and satisfied. Plus, you get to control the ingredients, so you can make them as healthy as you like.
Give this Energy Bars Recipe a try, and don’t be afraid to get creative by adding your favorite mix-ins. From dried blueberries to nuts, there’s no limit to how you can personalize your homemade bars. Enjoy your fresh, delicious, and nutritious energy bars on the go!
