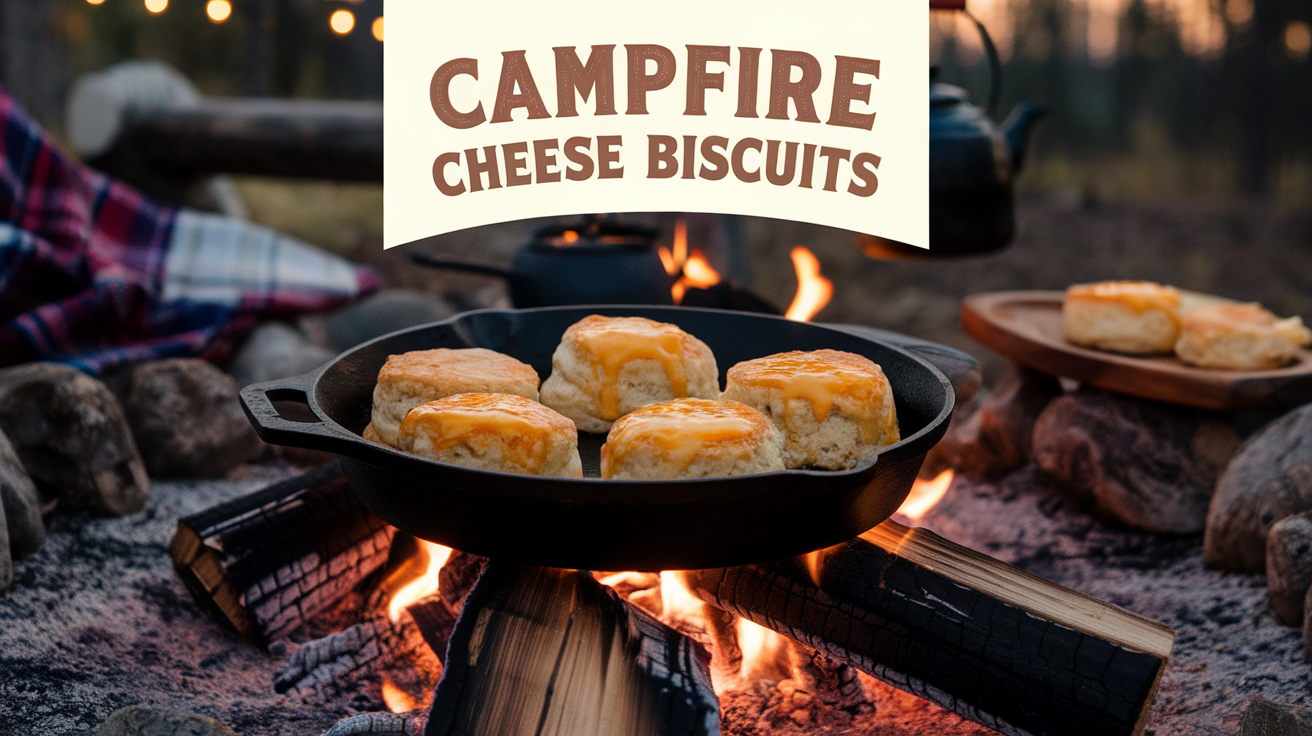
When you’re out in the wilderness, there’s nothing better than gathering around the campfire, sharing stories, and enjoying delicious food. One of the most satisfying meals you can prepare over an open flame is a batch of Campfire Cheese Biscuits. These light, fluffy biscuits are easy to make and require just a few simple ingredients, making them the perfect addition to your camping trip. Whether you’re backpacking through the wilderness or enjoying a weekend retreat with friends, this camping recipe easy to follow will make your outdoor adventure even more memorable.
Why Campfire Cheese Biscuits?
Camping recipes are all about making cooking outdoors fun, simple, and delicious. The best part about this recipe is its versatility. You don’t need any fancy equipment to whip up these biscuits—just a campfire, a few ingredients, and a willingness to get your hands dirty. They’re perfect for campfire meals, as they can be made directly on the fire or with the help of a cast-iron skillet. The cheesy flavor pairs wonderfully with a hot cup of coffee or a hearty stew, creating a well-rounded outdoor meal.
Whether you’re looking for easy camping food to prepare on your first camping trip or you’re an experienced outdoors enthusiast in need of backpacking recipes that are light yet satisfying, these Campfire Cheese Biscuits are sure to hit the spot. These biscuits also offer a simple yet savory solution for your dehydrating recipes, offering something fresh and homemade even in the most remote areas.
The Best Biscuit Recipe for Your Next Outdoor Adventure
If you’re a fan of biscuits, you probably know that the key to making them perfect is achieving that golden-brown crust with a soft, fluffy interior. This recipe does just that—no oven required! With only a few basic ingredients, you can make these biscuits right over the fire or on a grill, offering an unforgettable flavor that’s ideal for recipes for camping.
Ingredientes:
- 2 xícaras de farinha de trigo
- 2 tablespoons baking powder
- 1 colher de chá de sal
- 1 teaspoon garlic powder (optional for extra flavor)
- 1 cup shredded cheese (cheddar is the classic choice, but you can use your favorite variety)
- 1/2 cup cold butter, cubed
- 3/4 cup milk (you can substitute with water if you’re looking for a dairy-free version)
For a special touch, add some fresh herbs like rosemary or thyme for extra flavor, especially if you’re planning on serving these biscuits with soups or stews. You can also experiment with different types of cheese for a unique twist—perhaps a sharp blue cheese or a creamy mozzarella.
Directions:
- Misture os Ingredientes Secos:
In a large bowl, combine the todos-propósito farinha, de fermento em pó, sale alho em pó (if using). Stir until well mixed. The garlic powder adds a nice savory touch to the biscuits, making them perfect for pairing with hearty meals or savory dishes like soups and stews. - Add the Cheese:
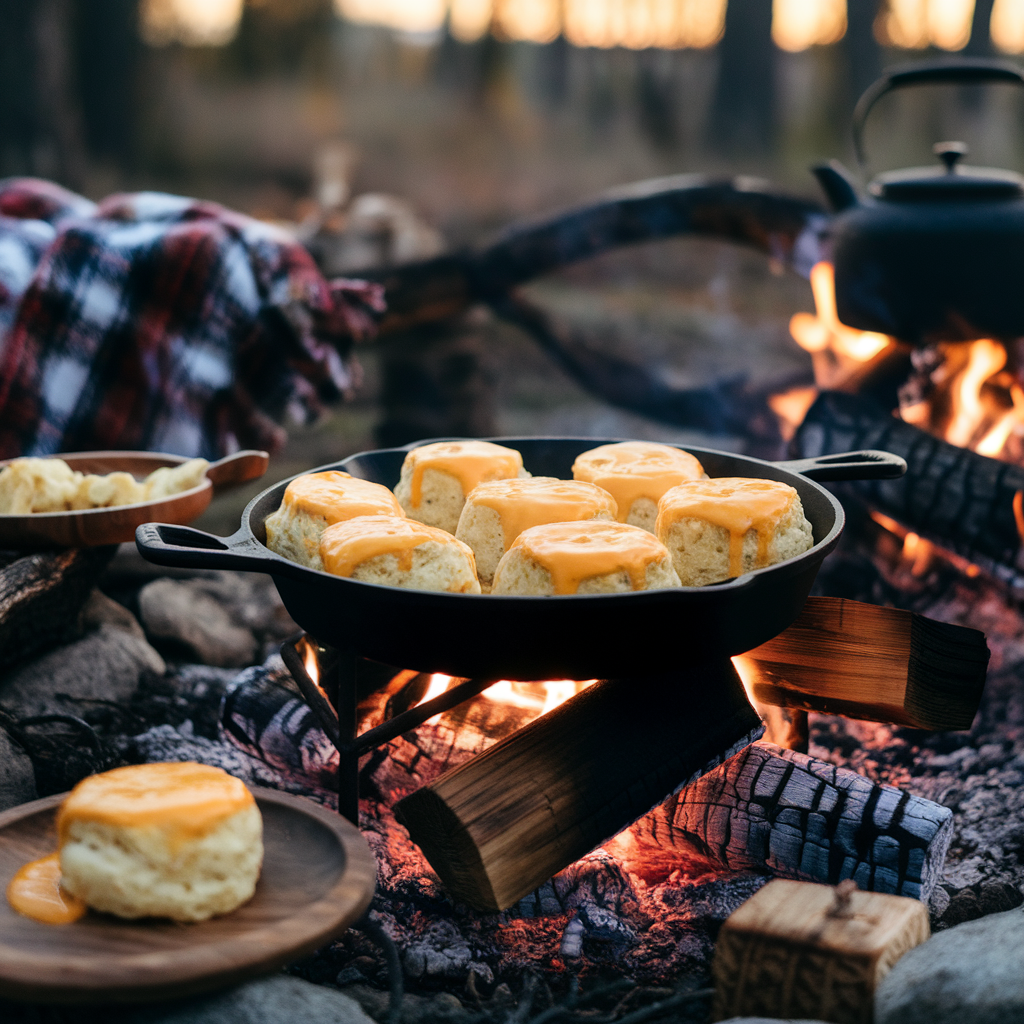
Stir in the shredded cheese. The cheese will melt as the biscuits cook, creating pockets of gooey goodness throughout each biscuit. If you’re feeling adventurous, mix in a blend of cheeses for a more complex flavor. You could also add some finely chopped vegetables like onions or peppers for an extra layer of flavor. - Cut in the Butter:
Add the cold butter cubes to the dry ingredients. Using a fork or your fingers, work the butter into the flour until the mixture resembles coarse crumbs. This step is key to achieving that buttery, flaky texture that makes biscuits so irresistible. The cold butter will melt during cooking, creating layers within the dough. - Add the Milk:
Slowly pour in the milk and stir until the dough just comes together. Be careful not to overmix it—overworking the dough will result in tough biscuits. The dough should be slightly sticky but manageable. If you’re working in a particularly dry environment, you may need to add a splash more milk. - Shape the Biscuits:
Turn the dough onto a lightly floured surface. Pat it down gently with your hands until it’s about 1-inch thick. Using a biscuit cutter or the rim of a drinking glass, cut out your biscuits. You can make them as big or small as you like, depending on how many people you’re feeding. Don’t worry if the shapes aren’t perfect—each biscuit will still cook up delicious. - Cooking the Biscuits: Option 1: Cooking on the Campfire
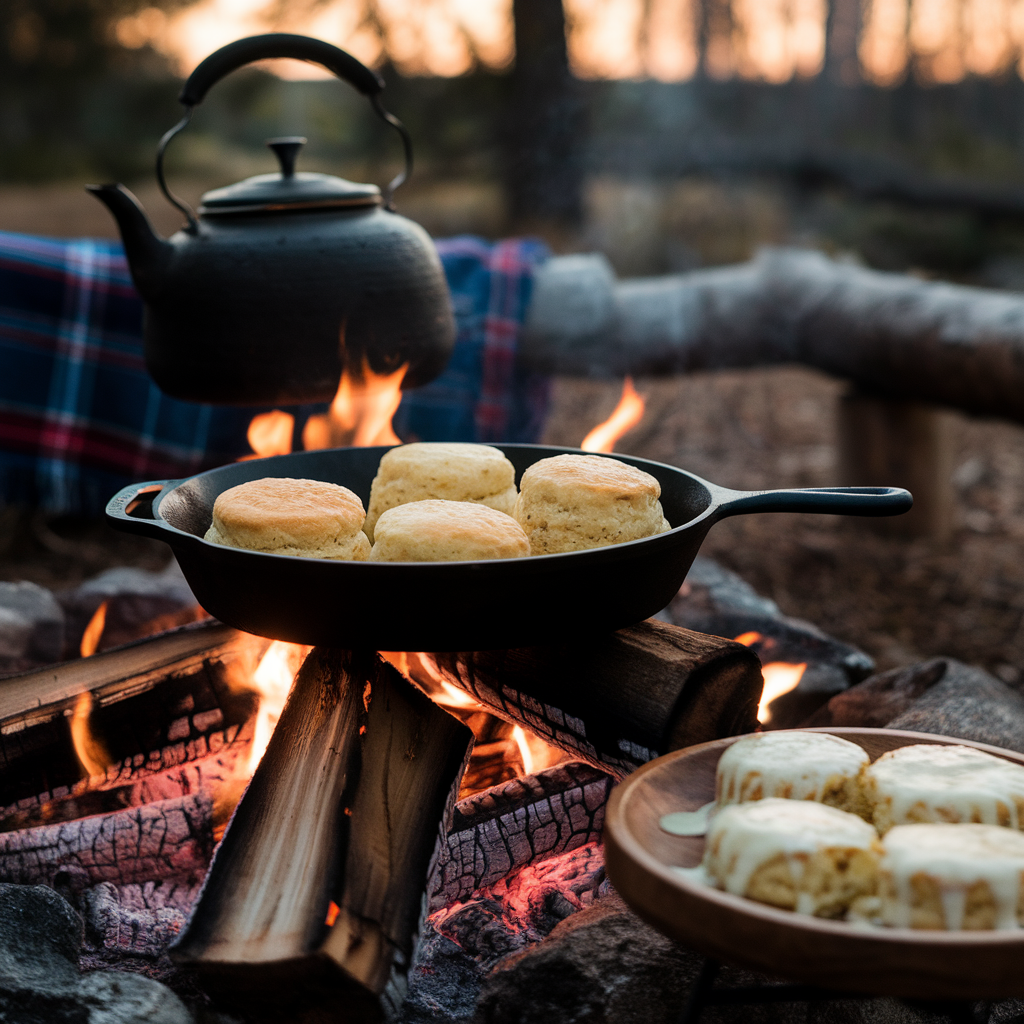
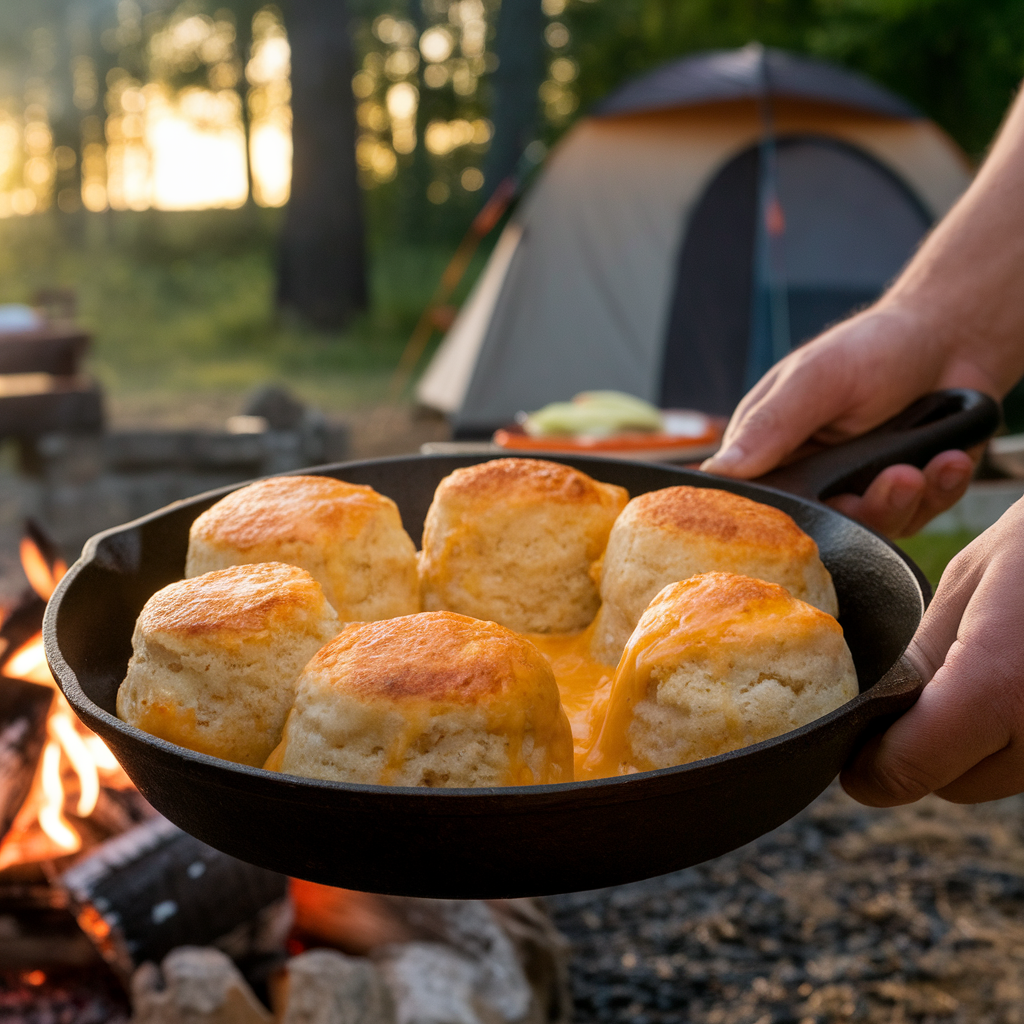
If you have a flat, cast-iron pan, preheat it over your campfire. Add a little oil or butter to the pan and place your biscuits inside, spacing them apart so they have room to rise. Cover the pan with a lid or foil and cook for about 12-15 minutes, checking frequently to ensure they don’t burn. The biscuits are done when they’re golden brown on top and a toothpick comes out clean. The key to success with this method is maintaining an even, moderate heat. Option 2: Cooking on a Grill
If you’re grilling your food, you can place your biscuits directly on the grill over indirect heat. Just make sure to rotate them occasionally to ensure even cooking. A grill can be a great way to get a slightly smoky flavor on your biscuits while ensuring they cook through properly. Option 3: Cooking with Foil
For a true campfire experience, wrap your biscuits in heavy-duty aluminum foil and place them in the hot embers of your campfire. Be sure to keep the foil wrapped tightly to avoid any biscuits falling apart. Cooking this way creates a steaming effect, which helps the biscuits rise beautifully. - Servir e Saborear:
Once the biscuits are cooked through, remove them from the heat and let them cool slightly before serving. Enjoy them with a dollop of butter, honey, or alongside your favorite camping meal. These Campfire Cheese Biscuits also pair wonderfully with scrambled eggs, chili, or a hot cup of coffee.
Why These Biscuits are Perfect for Dehydrating Recipes
One of the challenges of backpacking recipes is preparing food that is both lightweight and nutritious. Dehydrating recipes is a great way to make meals that are easy to carry but still flavorful and filling. If you’re looking for dehydrating recipes to make ahead of time, you can dehydrate the biscuit dough and rehydrate it when you’re ready to cook.
To do this, prepare the dough as you normally would and then spread it out on a baking sheet. Bake the biscuits at a low temperature until they are fully cooked and slightly dried out. Once they’re cooled, you can store them in an airtight container or vacuum-sealed bag for up to a month. When you’re ready to enjoy them, just add a bit of water to the dough and cook as you normally would over the fire. This makes for a super easy campfire meal that’s convenient, lightweight, and perfect for long trips.
Campfire Meals Made Simple: Tips and Tricks for Cooking Outdoors
When cooking outdoor recipes, especially over a campfire, it’s essential to be prepared. Here are some tips to make your campfire meals even better:
- Use a Cast-Iron Skillet:
A good cast-iron skillet is one of the best tools for campfire cooking. It distributes heat evenly and retains it well, allowing you to achieve that perfect crispy crust on your biscuits. A cast iron skillet can also double as a grill pan or baking dish, making it a versatile tool to have when cooking easy camping food. - Keep It Simple:
The best recipes for camping are often the simplest. You don’t need complicated ingredients or fancy gadgets—just fresh ingredients and a good attitude will do. Simple recipes, like Campfire Cheese Biscuits, make it easy to cook delicious meals without overwhelming yourself with prep work. - Prep Ahead of Time:
If you’re planning on making these Campfire Cheese Biscuits on a backpacking trip, prepare the dry ingredients ahead of time and store them in a resealable bag. You’ll save valuable time and effort once you’re out in the wilderness. Also, chopping vegetables or measuring out spices beforehand will help streamline your outdoor cooking experience. - Check Your Fire:
Make sure your fire is not too hot or too cold. If your fire is too hot, your biscuits will burn on the outside but remain raw on the inside. If it’s too cold, they’ll take too long to cook. A steady, moderate heat is essential for achieving the perfect biscuit texture. - Don’t Forget the Extras:
While these biscuits are great on their own, they pair wonderfully with stews, soups, or even a hearty breakfast spread. Bring along some jam, honey, or whipped butter for an extra indulgence. You can also serve them with a side of grilled sausages or scrambled eggs for a well-rounded meal.
The Versatility of Campfire Cheese Biscuits
Estes Campfire Cheese Biscuits are incredibly versatile. While they are delicious on their own, they can also be adapted to suit your tastes or dietary needs. Here are some ideas to customize your biscuits:
- Vegan Option: If you prefer a plant-based option, swap the butter for a dairy-free alternative like coconut oil or margarine, and replace the milk with an almond or oat milk. Use a vegan cheese for the cheesy goodness.
- Add-Ins: Feel free to add in herbs like rosemary, thyme, or oregano to enhance the flavor of your biscuits. You could even toss in some cooked bacon bits or sautéed onions for an extra savory kick.
- Sweet Version: If you’re in the mood for something sweet, consider swapping the garlic powder for a bit of cinnamon or nutmeg. Add in some dried fruit like cranberries or raisins, and you’ve got yourself a delicious treat for breakfast or dessert.
Conclusion: A Must-Try Recipe for Every Camper
Whether you’re a first-time camper or an experienced outdoorsman, these Campfire Cheese Biscuits should be a staple in your camping recipe collection. Their simplicity and flavor make them a perfect choice for recipes for camping, and they’ll bring smiles to everyone around the campfire. With their cheesy goodness and flaky texture, these biscuits will quickly become your go-to campfire meals.
Plus, they’re perfect for making ahead of time and dehydrating for later use, ensuring that you always have a tasty meal on hand when you need it. From easy camping food para backpacking recipesestes Campfire Cheese Biscuits offer an effortless yet satisfying way to enjoy the great outdoors while indulging in comfort food.
So, the next time you’re planning a camping trip or heading out on a backpacking adventure, don’t forget to pack the ingredients for these easy camping recipes. Trust us—you’ll be glad you did. Happy camping, and happy cooking!