Introduction
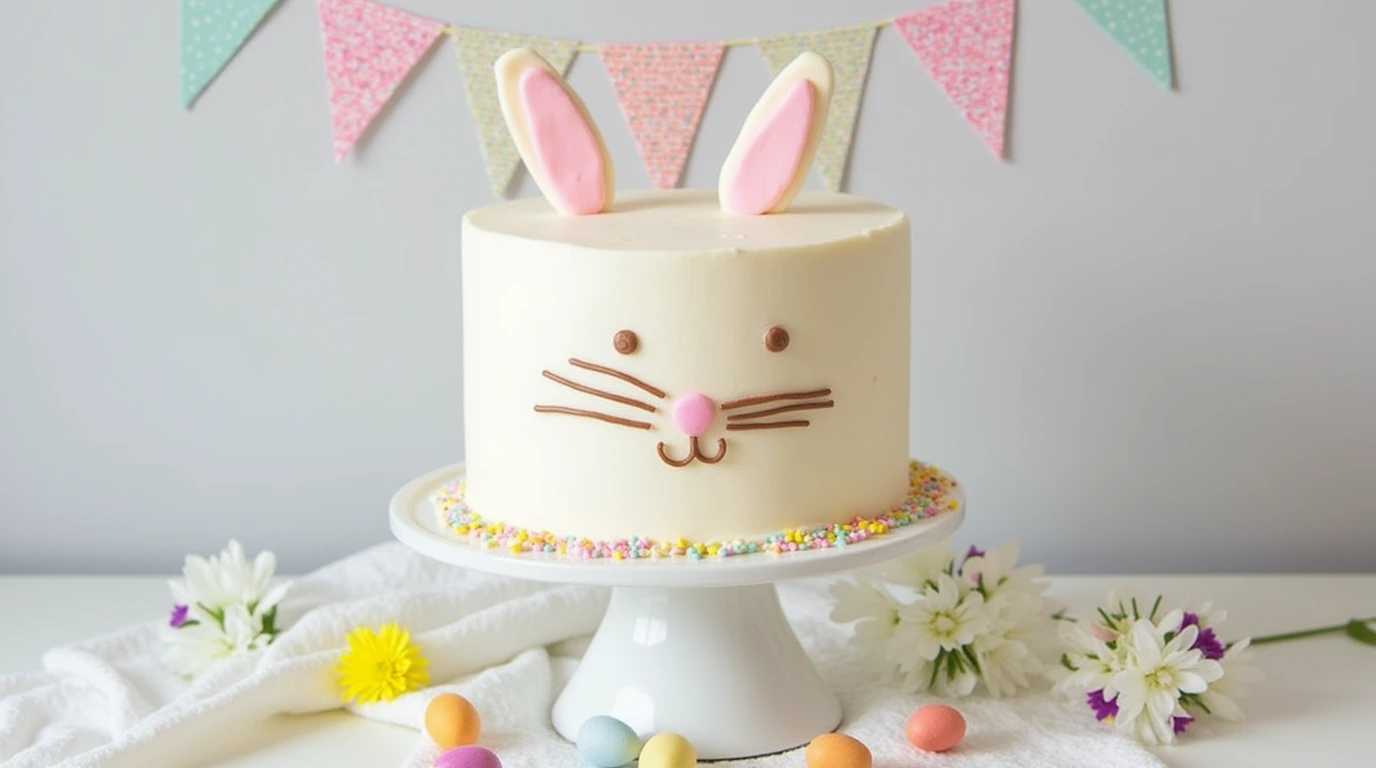
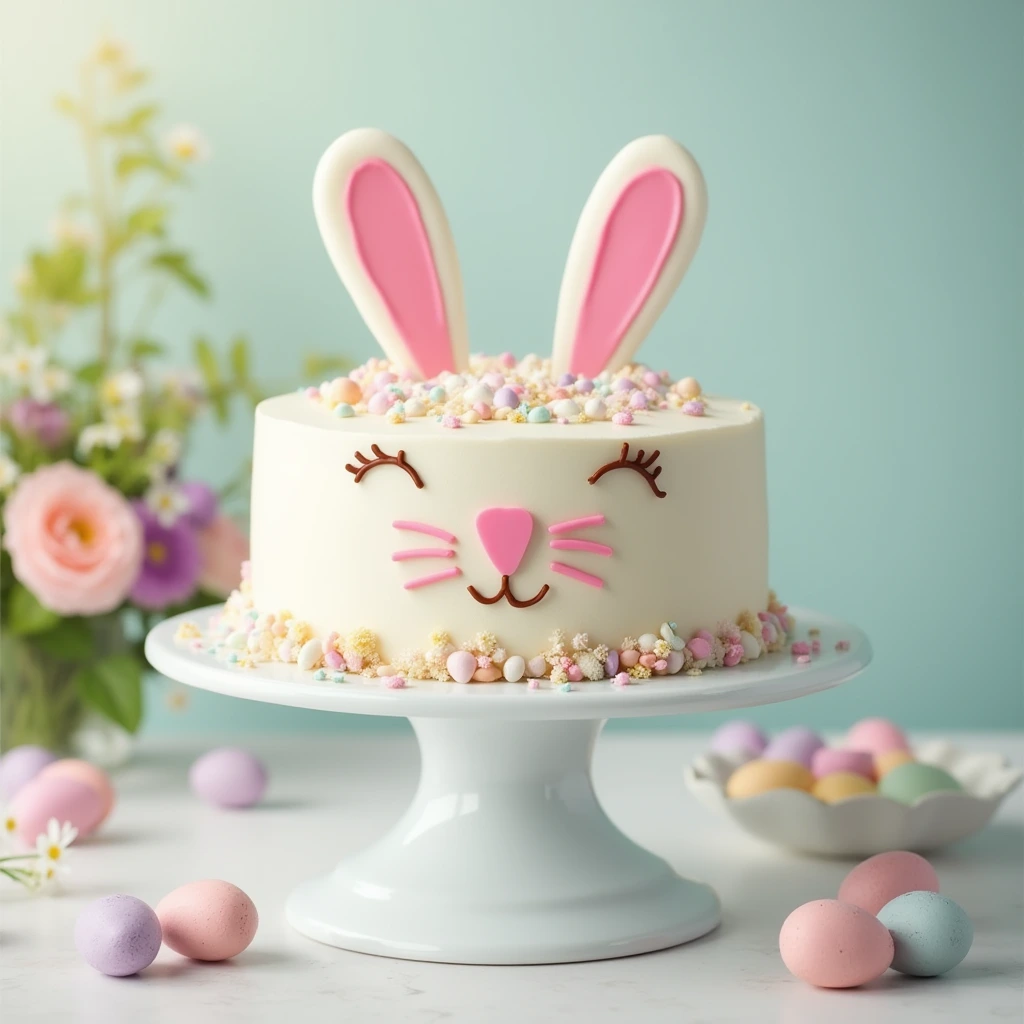
Spring is in the air, and Easter is just around the corner! What better way to celebrate than with the most adorable and delicious Easter Bunny Cake? This cake is fun to make, easy to decorate, and the perfect centerpiece for your Easter desserts table. Whether you’re hosting a big Easter gathering or just baking for your family, this bunny cake will bring smiles to everyone.
With its fluffy white coconut fur, cute bunny ears, and sweet decorations, this cake is an absolute showstopper. If you’re looking for the best cake for Easter, you’re in the right place! Follow this step-by-step guide to create the ultimate Easter baking project.
Why You’ll Love This Easter Bunny Cake
✔️ Adorable & Festive – The cutest Easter sweets for your holiday table.
✔️ Fácil de Fazer – No fancy tools required! Just a round cake, some frosting, and creativity.
✔️ Perfect for Kids & Adults – A great baking project for families.
✔️ Personalizável – Decorate it however you like! Add sprinkles, chocolate, or even pastel-colored frosting.
✔️ A Fun Easter Snack – It’s as fun to eat as it is to make!
Ingredients You’ll Need
Para o Bolo:
- 2 9-inch round cake layers (vanilla, chocolate, or your favorite flavor)
- 1 cup unsalted butter, softened
- 4 cups açúcar de confeiteiro
- 2 teaspoons de extrato de baunilha
- 2-3 tablespoons milk (adjust for desired consistency)
- 1/8 teaspoon sal
For the Bunny’s “Fur”:
- 2 cups de coco ralado (for a fluffy bunny effect!)
For the Face & Ears:
- 1 large marshmallow (for the bunny’s tail)
- 2 pink jelly beans (for the nose)
- 4 mini chocolate chips or black jelly beans (for the eyes)
- 6 thin licorice pieces or pretzel sticks (for whiskers)
- Pink frosting or pink construction paper (for bunny ears)
Passo-a-Passo
Step 1: Bake the Cake
- Preheat your oven to 350°F (175°C). Grease and flour two 9-inch round cake pans.
- Prepare your favorite cake batter (homemade or store-bought mix) and divide it evenly between the two cake pans.
- Bake according to recipe instructions until a toothpick inserted in the center comes out clean.
- Let the cakes cool completely before assembling the bunny shape.
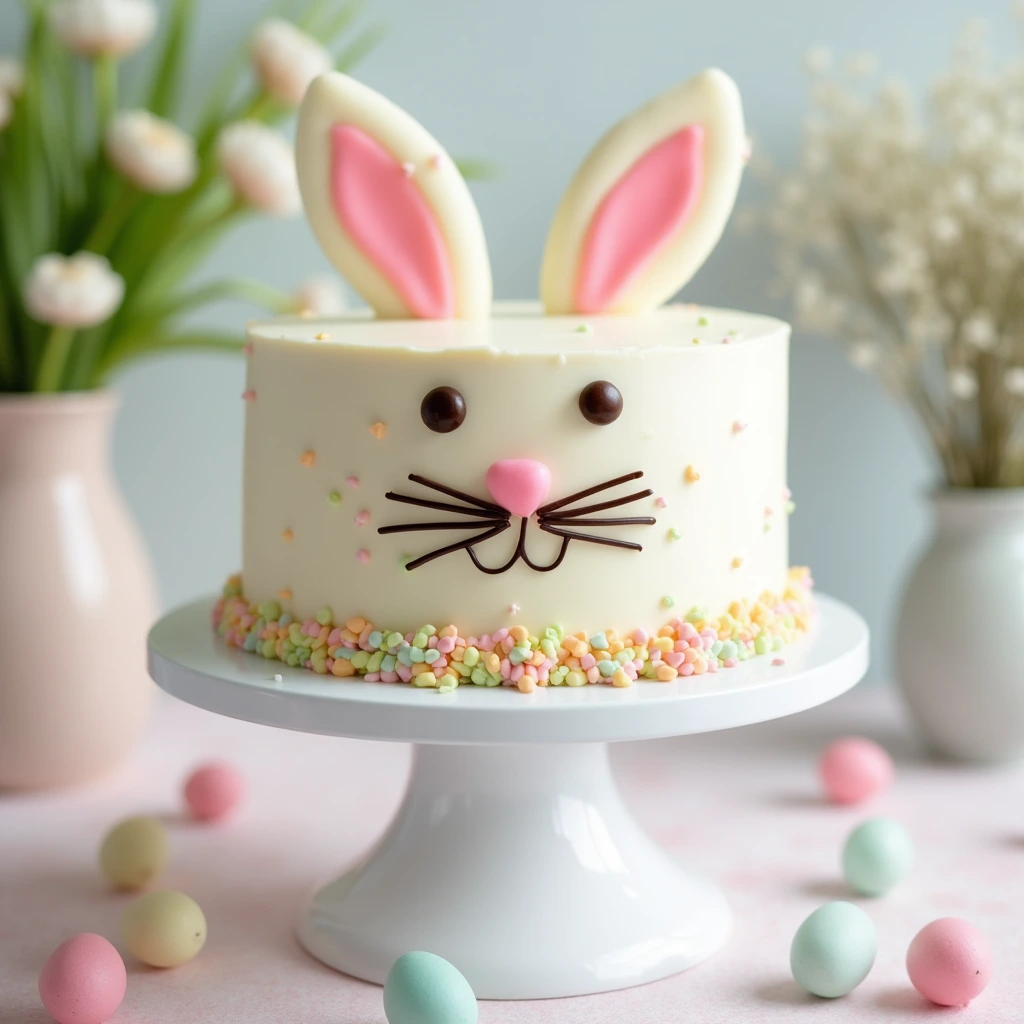
Step 2: Cut & Assemble the Bunny Shape
- Leave one round cake whole – this will be the bunny’s face.
- Cut the second round cake to form the bunny’s ears and bowtie:
- Cut two large oval-shaped ears from the top half.
- The remaining bottom portion will become the bunny’s bowtie.
- Arrange the pieces on a large platter:
- Place the whole round cake in the center as the face.
- Attach the ear pieces above the head.
- Position the bowtie below.
Now your bunny is starting to take shape! 🐰🎀
Step 3: Frost the Cake
- In a large mixing bowl, beat butter, powdered sugar, vanilla extract, salt, and milk until smooth and fluffy.
- Use an offset spatula or butter knife to spread a thick layer of frosting over the entire cake, making sure to cover the ears and bowtie as well.
- Smooth the frosting as much as possible, but don’t worry if it’s not perfect—the coconut topping will cover any imperfections!
Step 4: Add the Fluffy Fur
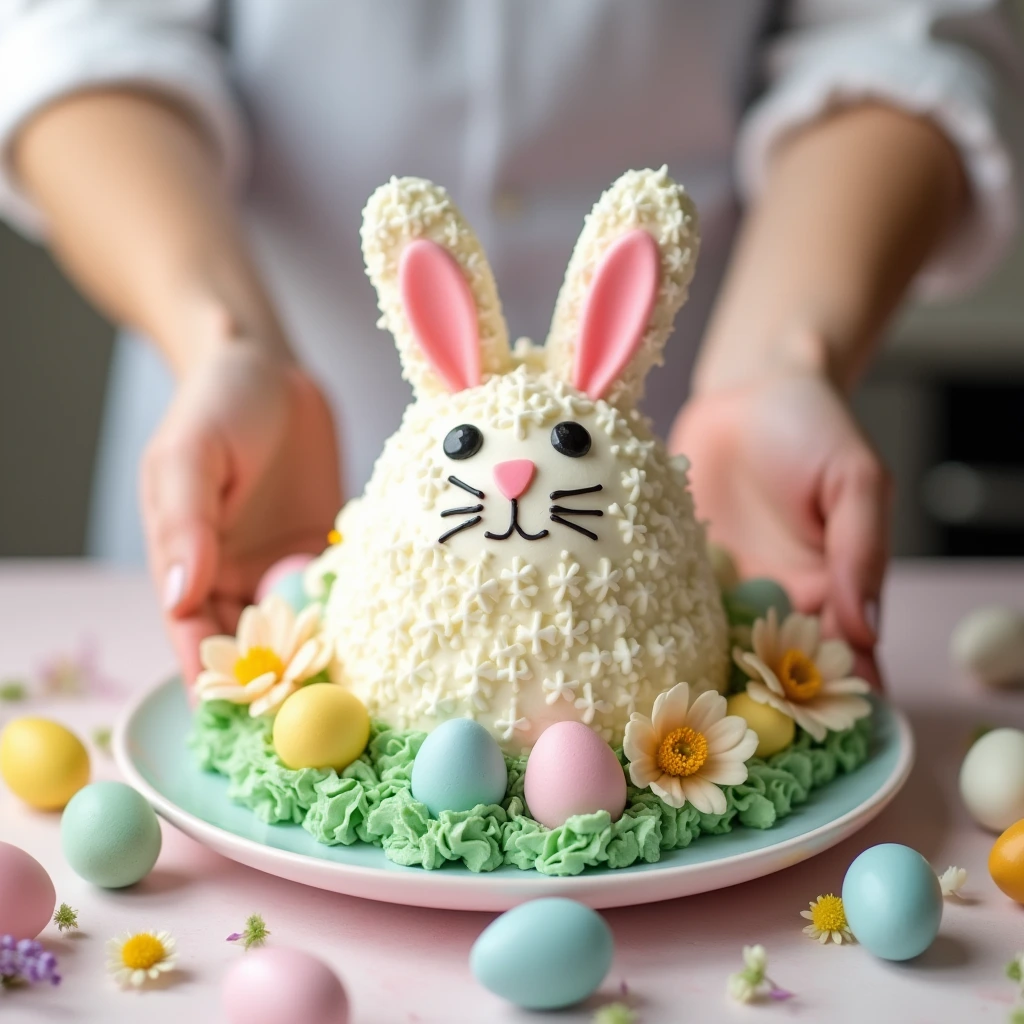
- Sprinkle shredded coconut all over the cake while the frosting is still fresh.
- Gently press it down to help it stick.
- If you want a pastel-colored bunny, place coconut in a ziplock bag with a few drops of pink, blue, or purple food coloring, shake, and use it to decorate the ears or bowtie!
Step 5: Decorate the Bunny’s Face
Now, let’s bring our bunny to life!
🐰 Eyes: Use mini chocolate chips or black jelly beans.
🐰 Nose: Place a pink jelly bean or a small pink candy.
🐰 Whiskers: Use thin licorice strips or pretzel sticks.
🐰 Mouth: Draw a smile with black gel icing or melted chocolate.
Step 6: Add the Bunny’s Ears & Bowtie
🎀 For the ears:
- If using pink frosting, pipe an oval shape in the center of each ear.
- If using construction paper, cut pink inner ear shapes and place them on top.
🎀 For the bowtie:
- Add colorful sprinkles, M&Ms, or frosting dots to make it extra cute!
Creative Variations & Fun Twists
🎂 Make a Chocolate Bunny Cake – Use chocolate cake and frosting for a brown bunny!
🧁 Mini Bunny Cupcakes – Use the same decorations on cupcakes for individual treats.
🥕 Add a Carrot Cake Twist – Try using carrot cake with cream cheese frosting for a festive flavor.
🌸 Springtime Bunny Cake – Decorate with edible flowers for an elegant touch.
Tips for the Best Easter Bunny Cake
✔️ Use a serrated knife to cut the cake into bunny shapes more easily.
✔️ Chill the cake before frosting—it’s easier to work with!
✔️ Use a cake board or large cutting board to easily transfer and decorate.
✔️ Store the cake in the fridge if making it ahead of time, but bring it to room temperature before serving.
How to Serve & Store Your Bunny Cake
🍽️ Serviço: Slice the cake into pieces and serve with vanilla ice cream or fruit.
❄️ Armazenar: Keep the bunny cake covered at room temperature for up to 2 days, or refrigerate for up to 5 days.
🧊 Congelamento: You can freeze the frosted cake for up to 1 month—just thaw before serving!
More Easter Baking & Dessert Ideas
Procurando mais Easter desserts and treats? Try these festive goodies!
- 🥕 Carrot Cake with Cream Cheese Frosting
- 🍪 Easter Sugar Cookies with Royal Icing
- 🧁 Mini Bunny Cupcakes
- 🍓 Strawberry Shortcake for Spring
- 🍫 Chocolate Nest Easter Eggs
Final Thoughts: The Cutest Easter Bunny Cake Ever!
Este Easter Bunny Cake is not just a dessert—it’s a fun Easter tradition that brings joy to kids and adults alike! Whether you’re baking for a big gathering or just want a cute treat for your family, this cake for Easter is guaranteed to be the highlight of your celebration.
So grab your mixing bowls, preheat the oven, and get ready for a fun and festive Easter baking adventure!
🐰 Happy Easter & Happy Baking! 🎂🌸💛
Have you tried making an Easter Bunny Cake before? Share your baking stories in the comments below! 🥰
